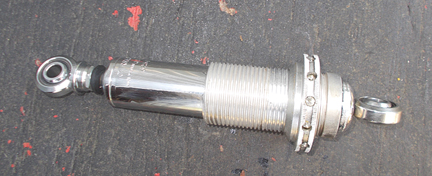
The FRONT Shocks....
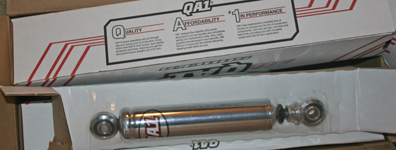
Fronts were made by Carrera, part number 3254 (#225 3254)
This line is now owned by QA1
QA1 acquired Carrera in 2004.
The replacement for the 32 Series Carrera shocks would be the 75 Series, part number 7554.
Although the shock body has #Q1 2516 on it.
This front shock has a removable treaded aluminum sleeve over the shock to make it a coilover.
The fronts are less than $100 each.
You need to put the car on a lift.
You can use jack stands, but not recommended.
Take the front tires/wheels off. Let the suspension hang down to relieve spring tension.
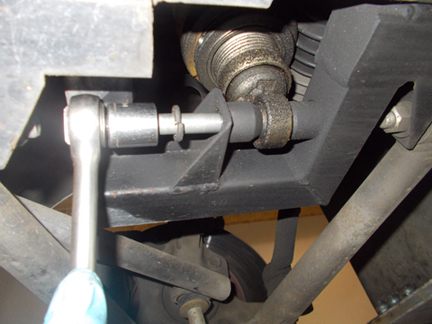
The car up on a lift, I removed the lower shock
mount bolt. I found it easier to adjust the spring seat nut down to relieve the spring tension so
I could remove this bolt. It makes the install
easier also.
Pay attention to where it is before the spring seat nut is turned. Mine was 1-1/4 inches from the bottom.
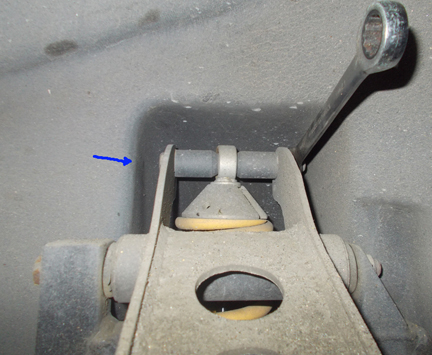
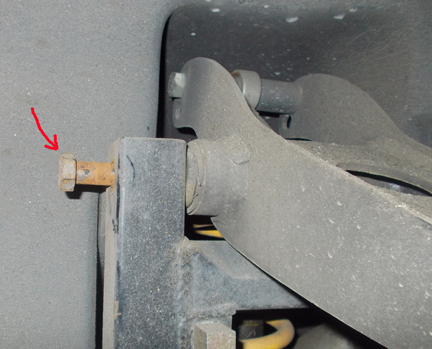
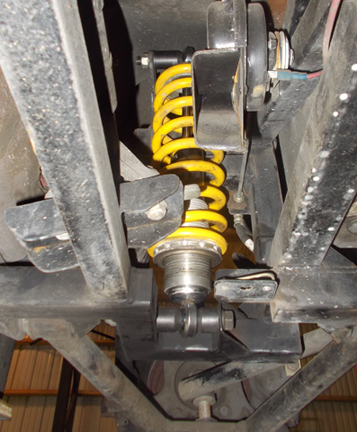
There is no room to remove the upper shock mounting bolt without taking the upper control arm loose from it's pivot point.
Blue arrow shows why there is no room.
Better photo of the area.
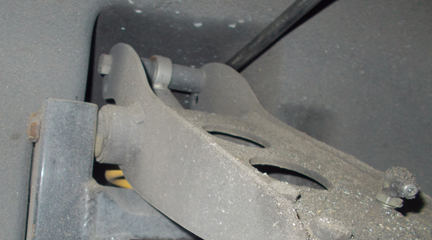
This is the bolt that needs removed first.
I did put a jack stand under the lower control arm at this point.
Once the control arm is unbolted, you can pull
it away far enough to remove the upper shock bolt.
The shock pulls up and out through the top.
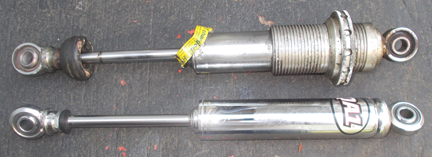
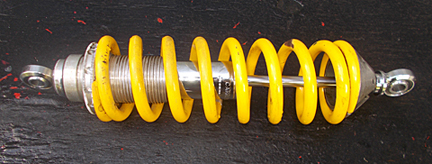
The old and new shock next to each other,
extended.
The old and new shock next to each other,
compressed.
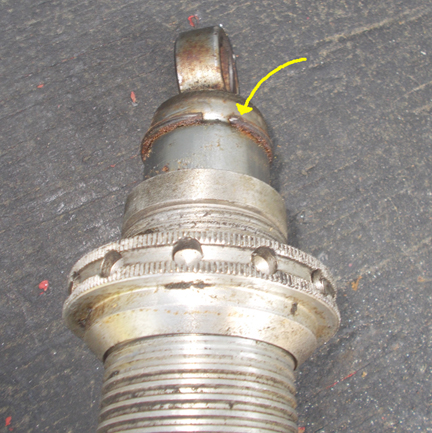
Push the aluminum threaded sleeve away
from the end of the shock. Then you will
see the clip that needs to be removed.
Once it is removed the sleeve slides off.
You will need to add this clip to the new shock.
It holds the sleve in place...from sliding down.
This is the sleeve cleaned up and installed
on the new shock.
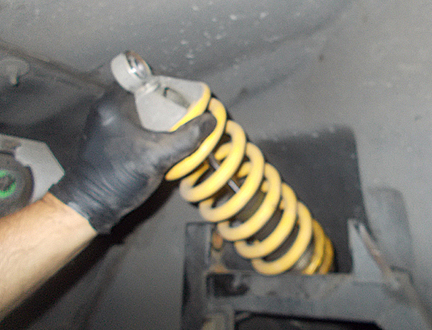
Install the spring and top hat.
The install is the reverse of taking it all apart.
Once it is all together, adjust the spring seat up to where it was before it was removed.